In this article, I want to show you how the Image Editing API enables you to process hundreds of your existing product images and make them compliant with the guidelines of Google Shopping in record time. If you’re running an e-commerce website or managing digital advertising campaigns for customers, you already know how important it is to have great-looking images of your products.
Because when buyers can’t physically interact with your product, having great images makes all the difference not only to help them picture the product as best as possible but also to convey a strong feeling of trust and quality.
But if you want to list your products on Google Shopping, you must deal with an additional constraint: you’ll have to comply with the platform’s guidelines.
More specifically, Google Shopping expects your products to be shown over a white background, with a padding between 10% and 25%.

In the past, meeting these new guidelines would have required manually editing your images, which would have required time, money, and energy.
Fortunately, using the Photoroom API you can generate these new images in just 3 steps!
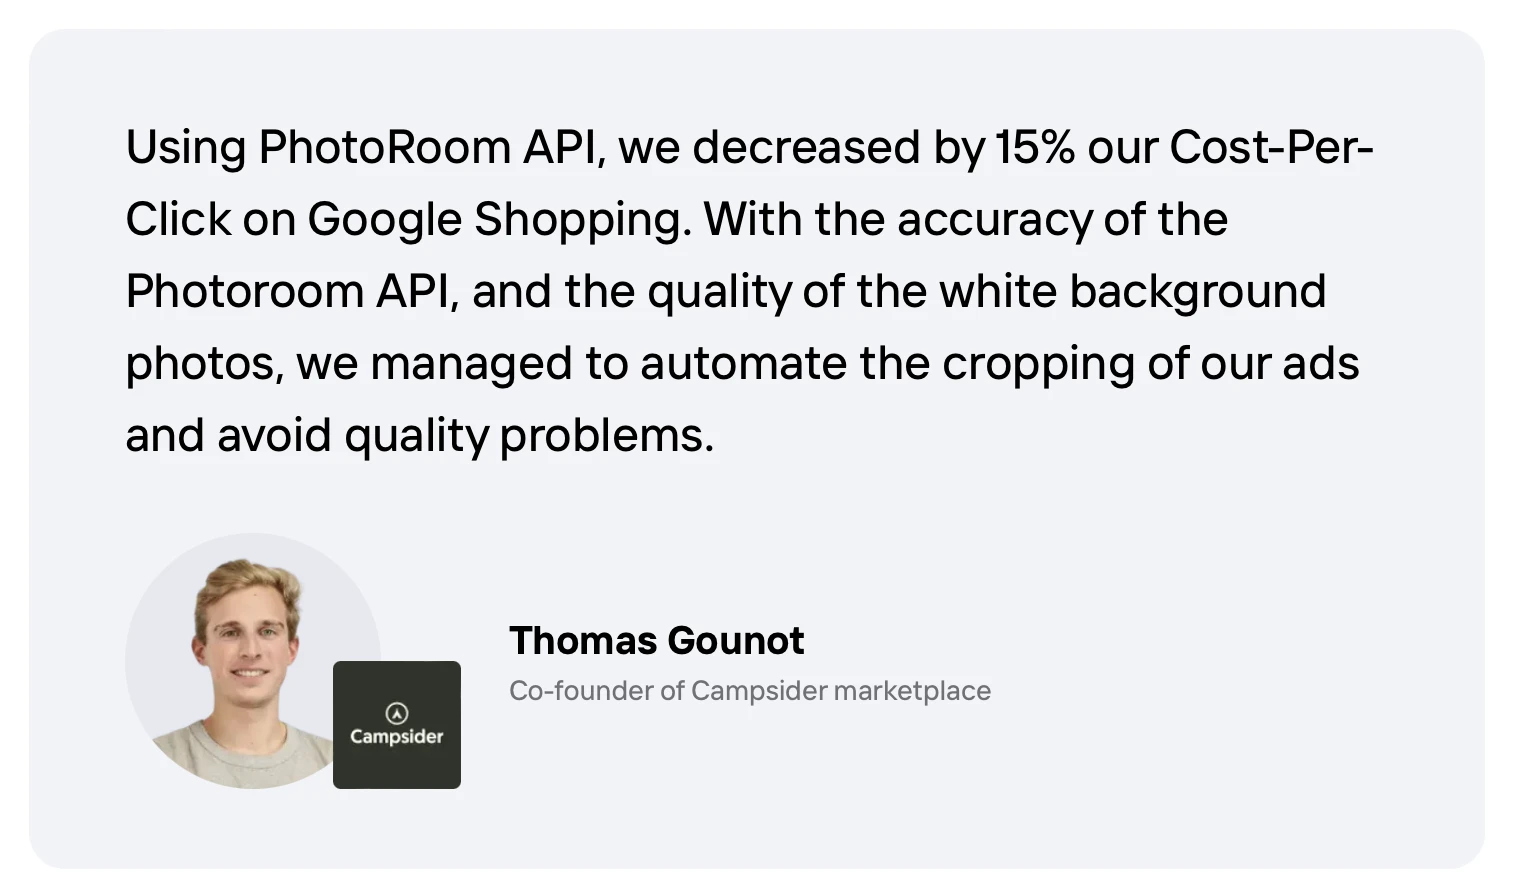
E-commerce websites like Campsider managed to decrease their Cost-Per-Click on Google Shopping by 15% thanks to the Photoroom API:
Step 1: Get Your API Key
The first thing you need to do is go to https://www.photoroom.com/api to get your API key. It's a quick and easy process, and once you have your key, you're ready to move on to the next step.
Step 2: Create a Google Shopping Template
Because creating images for Google Shopping is a very common need, the Photoroom API already comes with a built-in template for it.
So if you want, you can directly skip to Step 3 and use the following templateId in your API call: 8c30bbc9-196a-4c9f-ab12-03f9dd28f28a.
But if you’re interested in understanding how such a template works, here are the steps to create it manually.
First, go to https://app.photoroom.com.
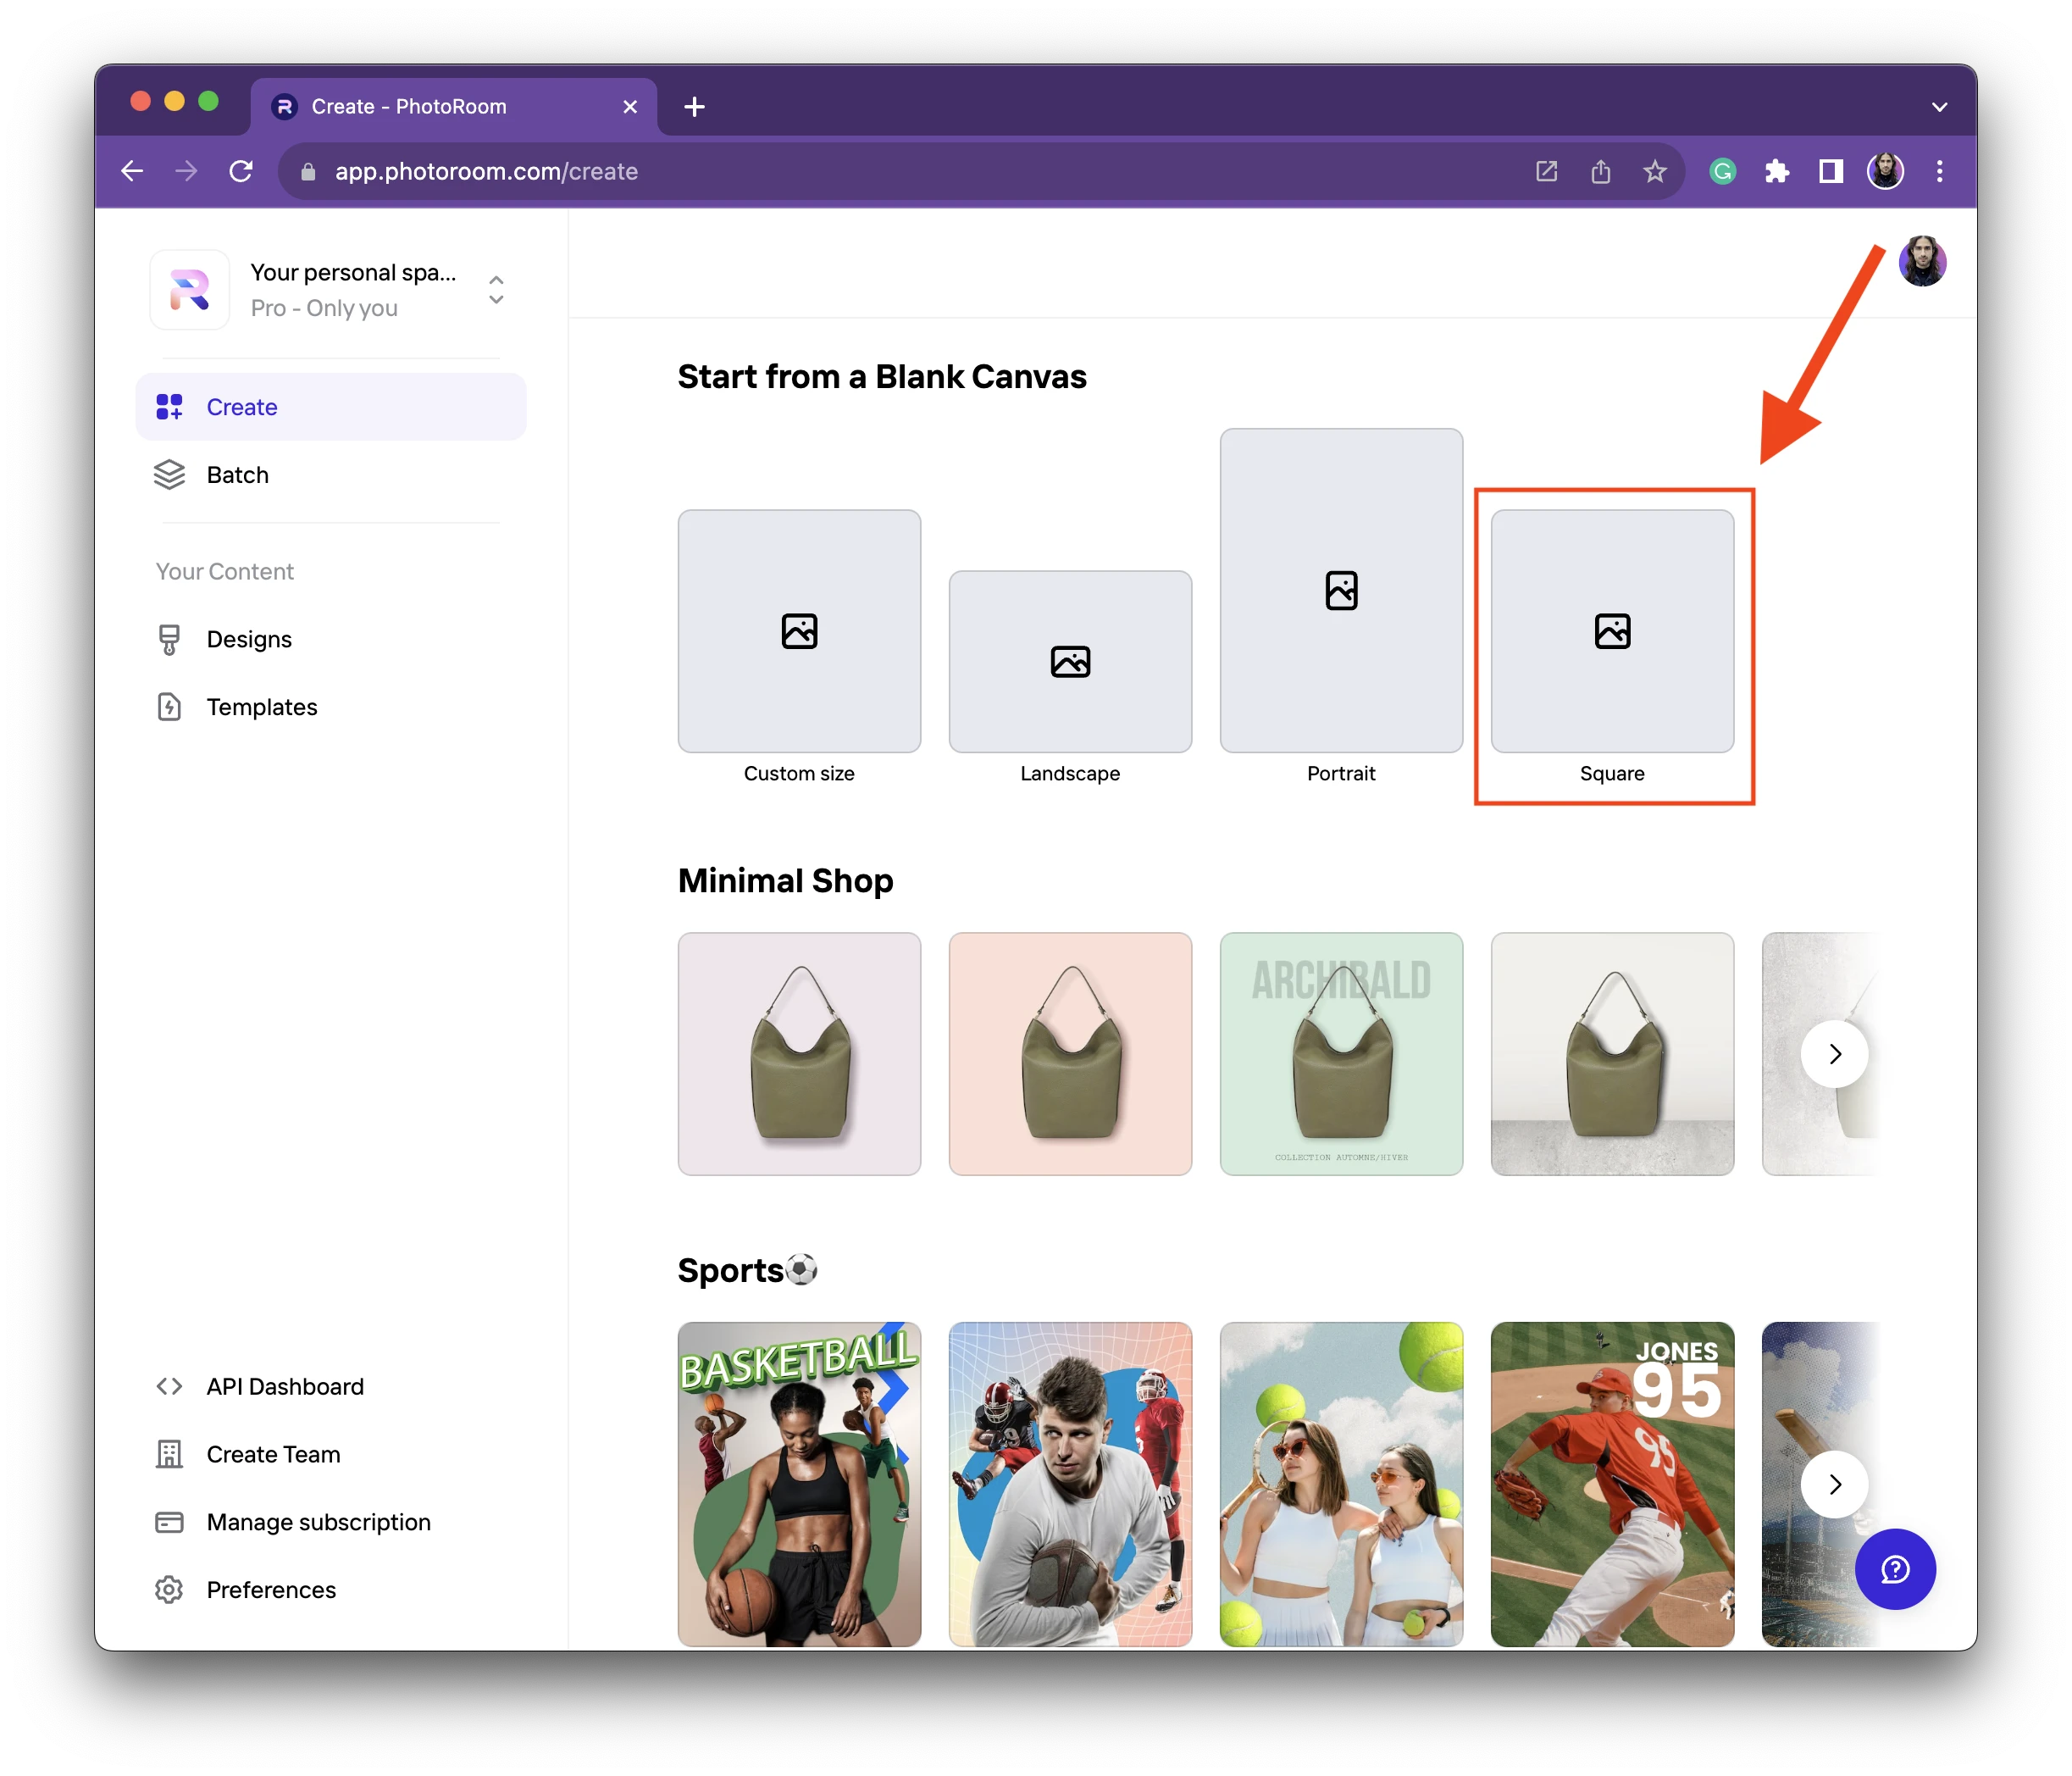
Scroll down to the section Start from a Blank Canvas, and select a Square canvas:
Then, click on Insert to upload one of your product images:
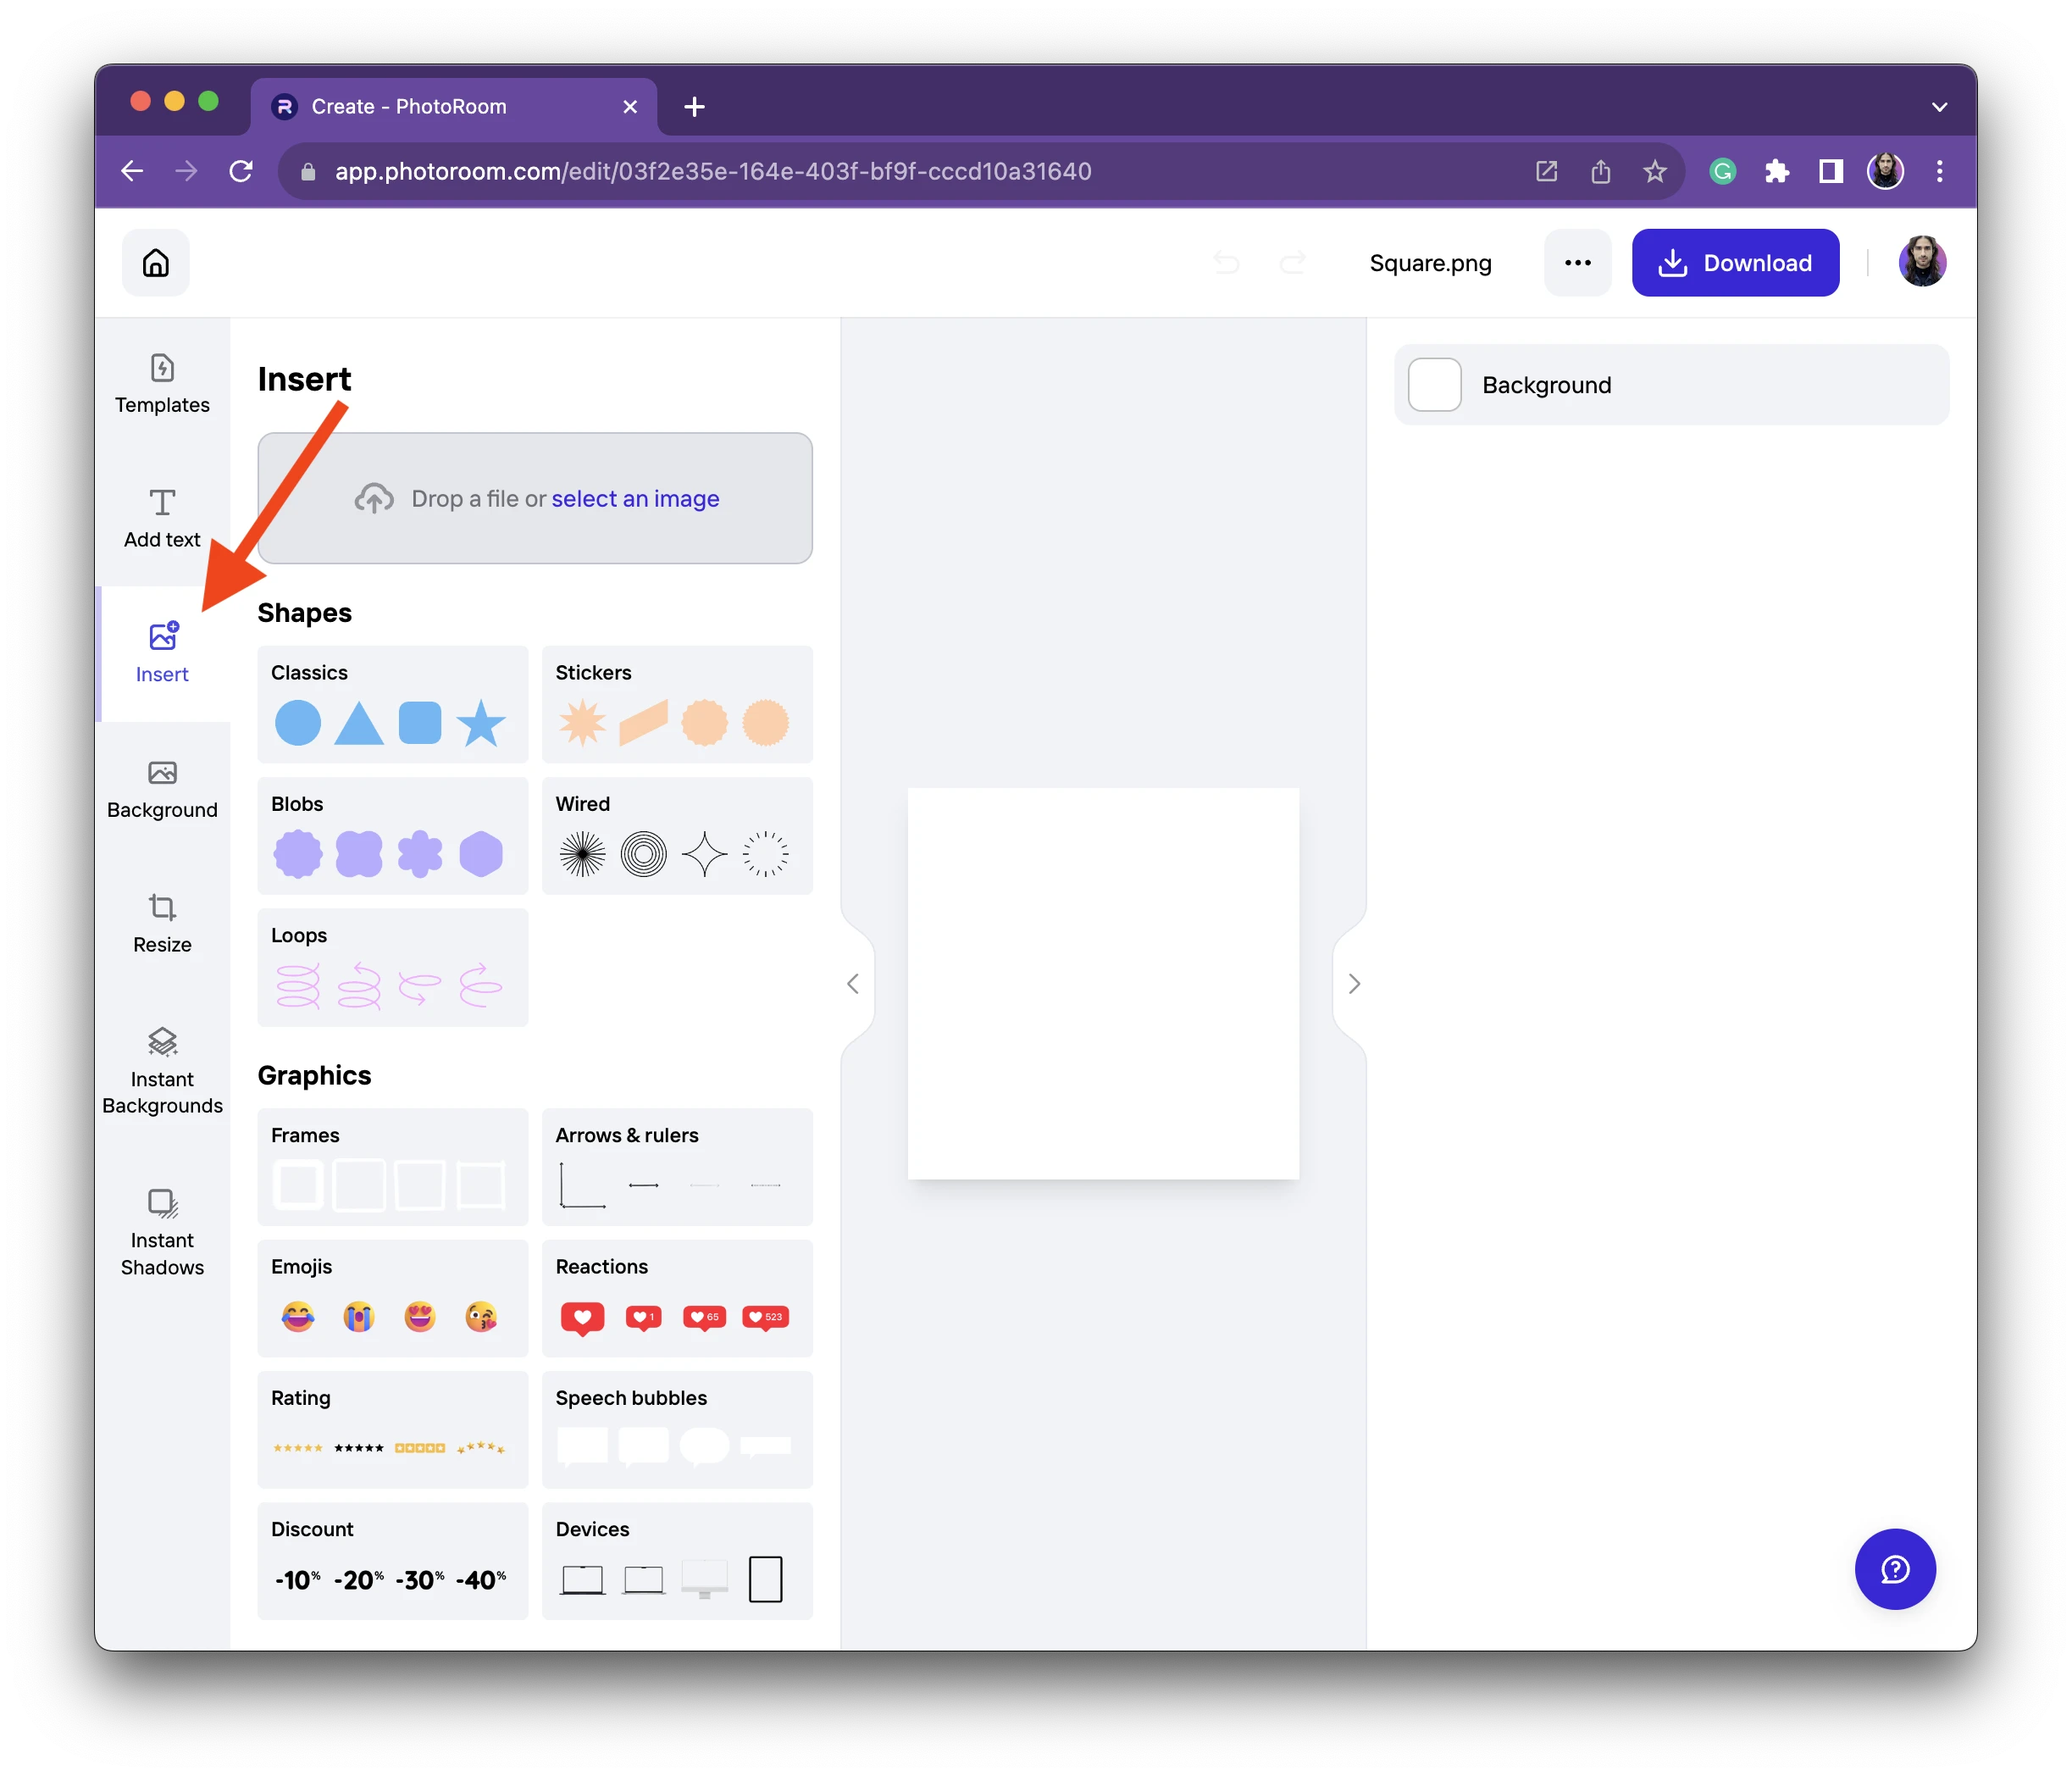
The background of the image will be automatically removed and the product will be added to the canvas.
Make sure that the product is centered, and positioned too close to the edges of the canvas:
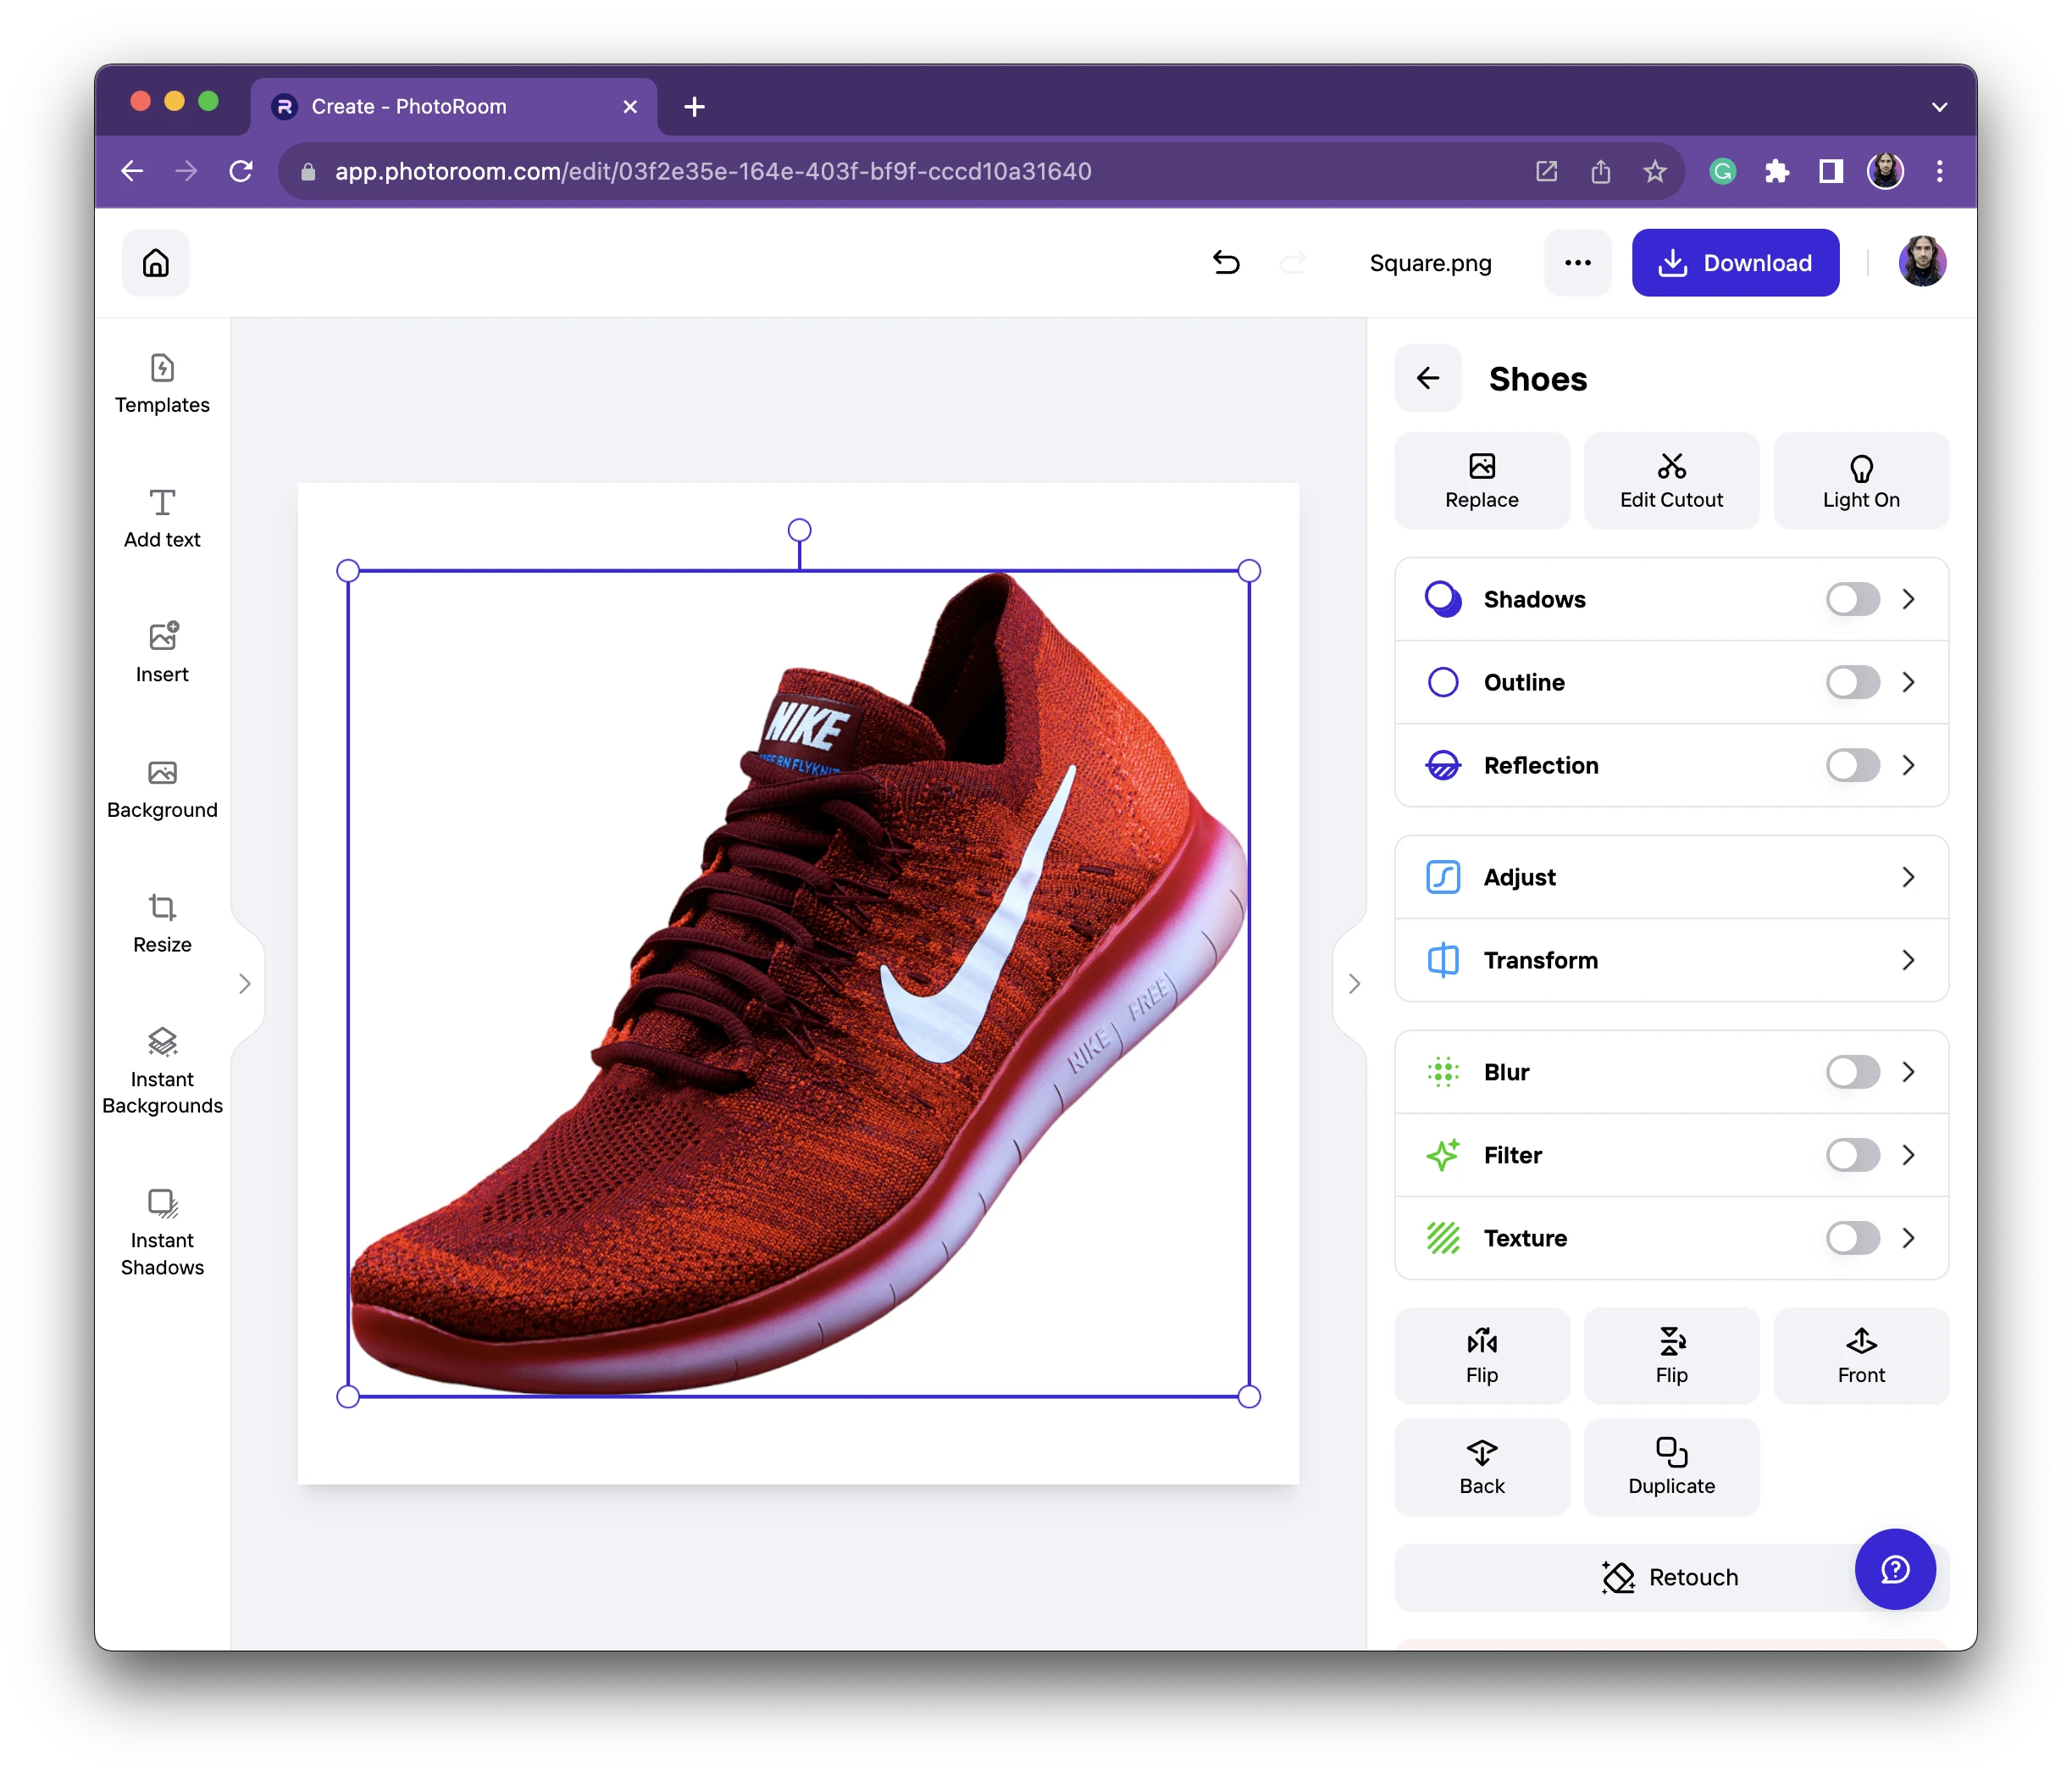
Next, you’ll need to click on the “…” button on the top-right corner, and select the option “Turn into Template”:
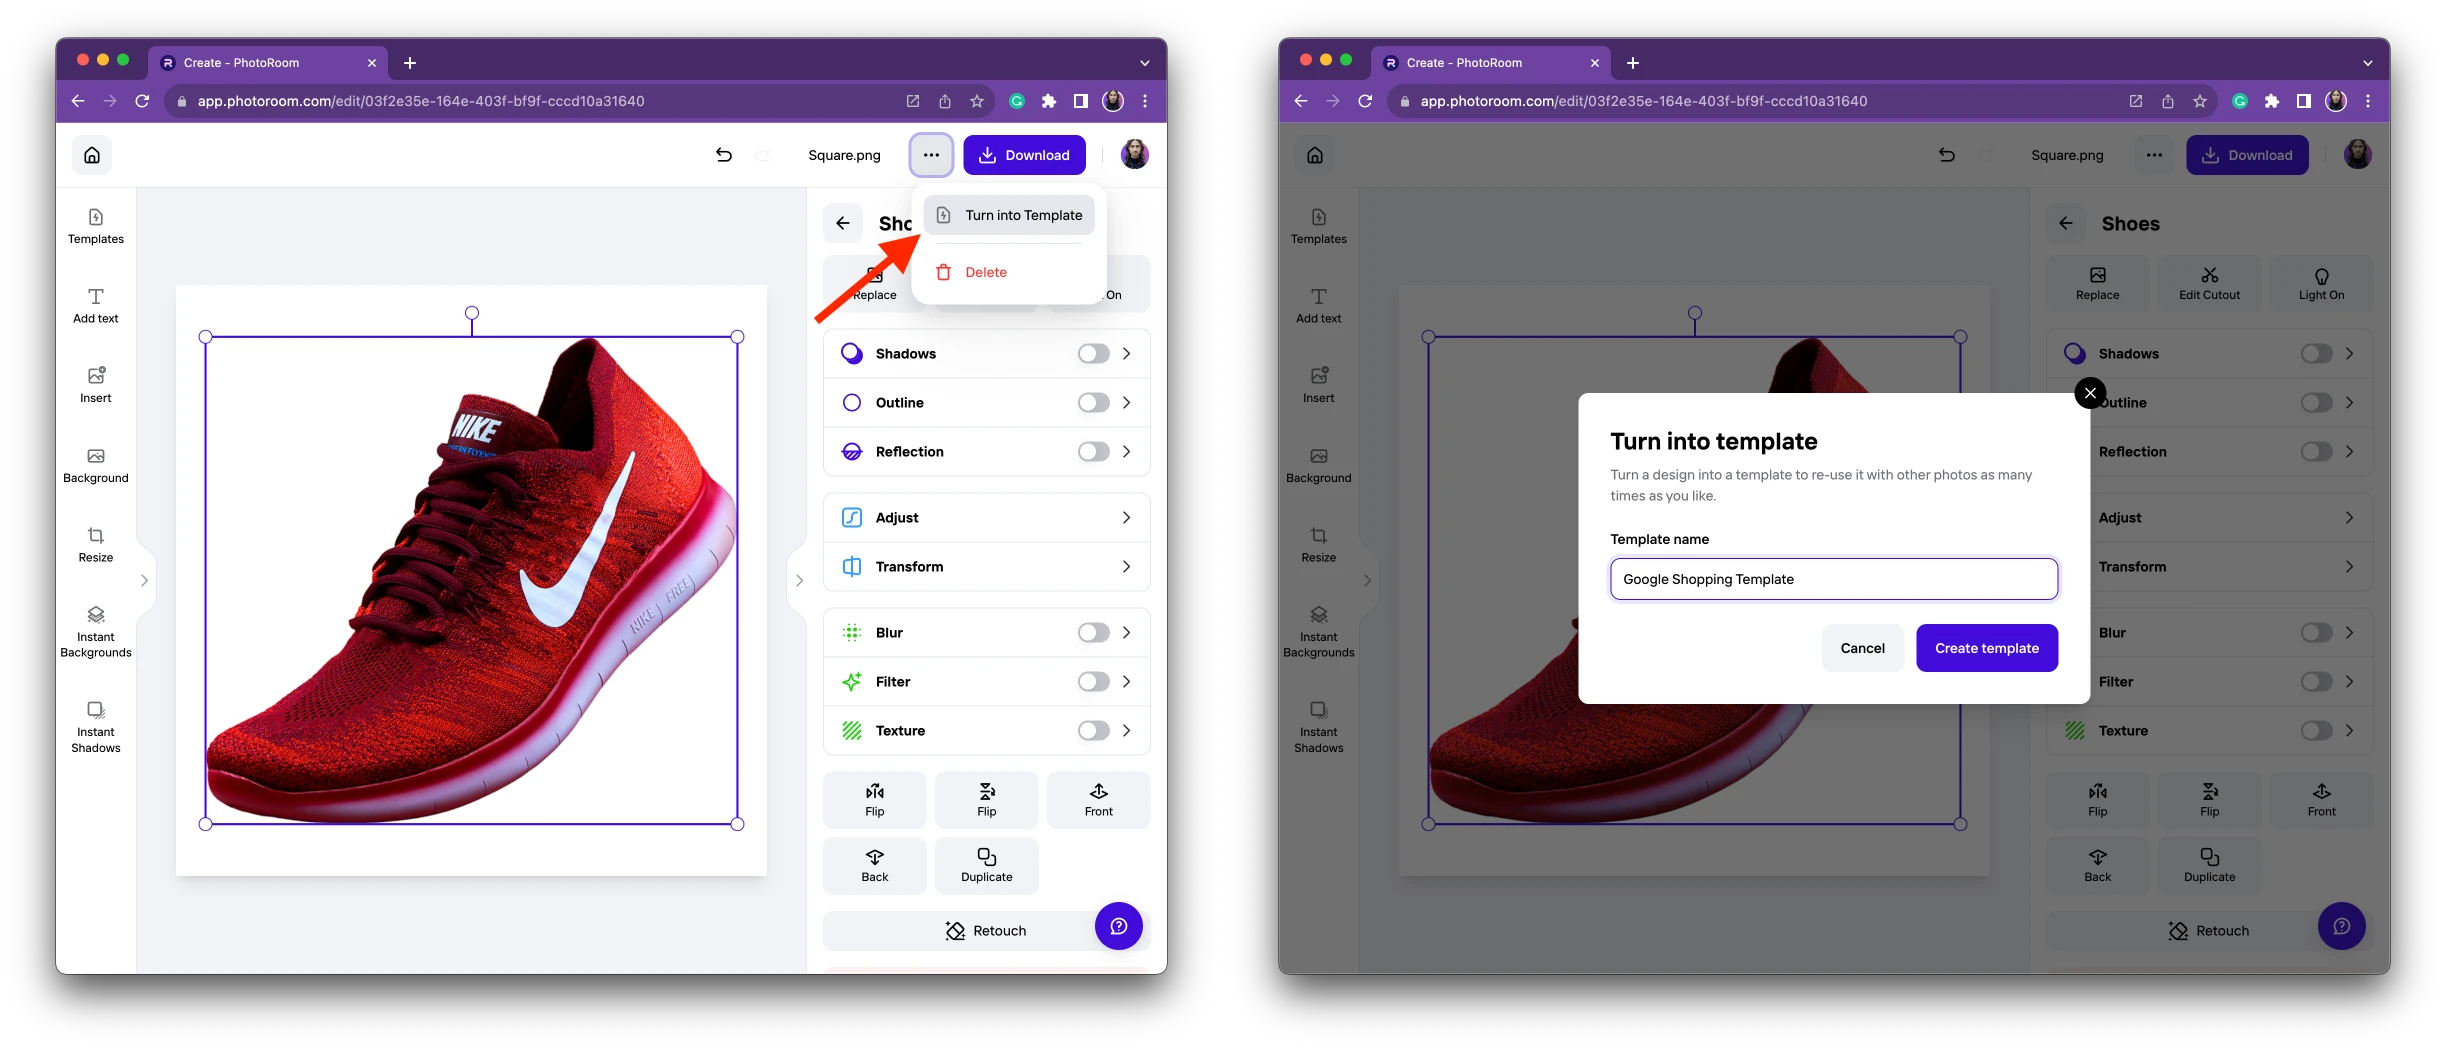
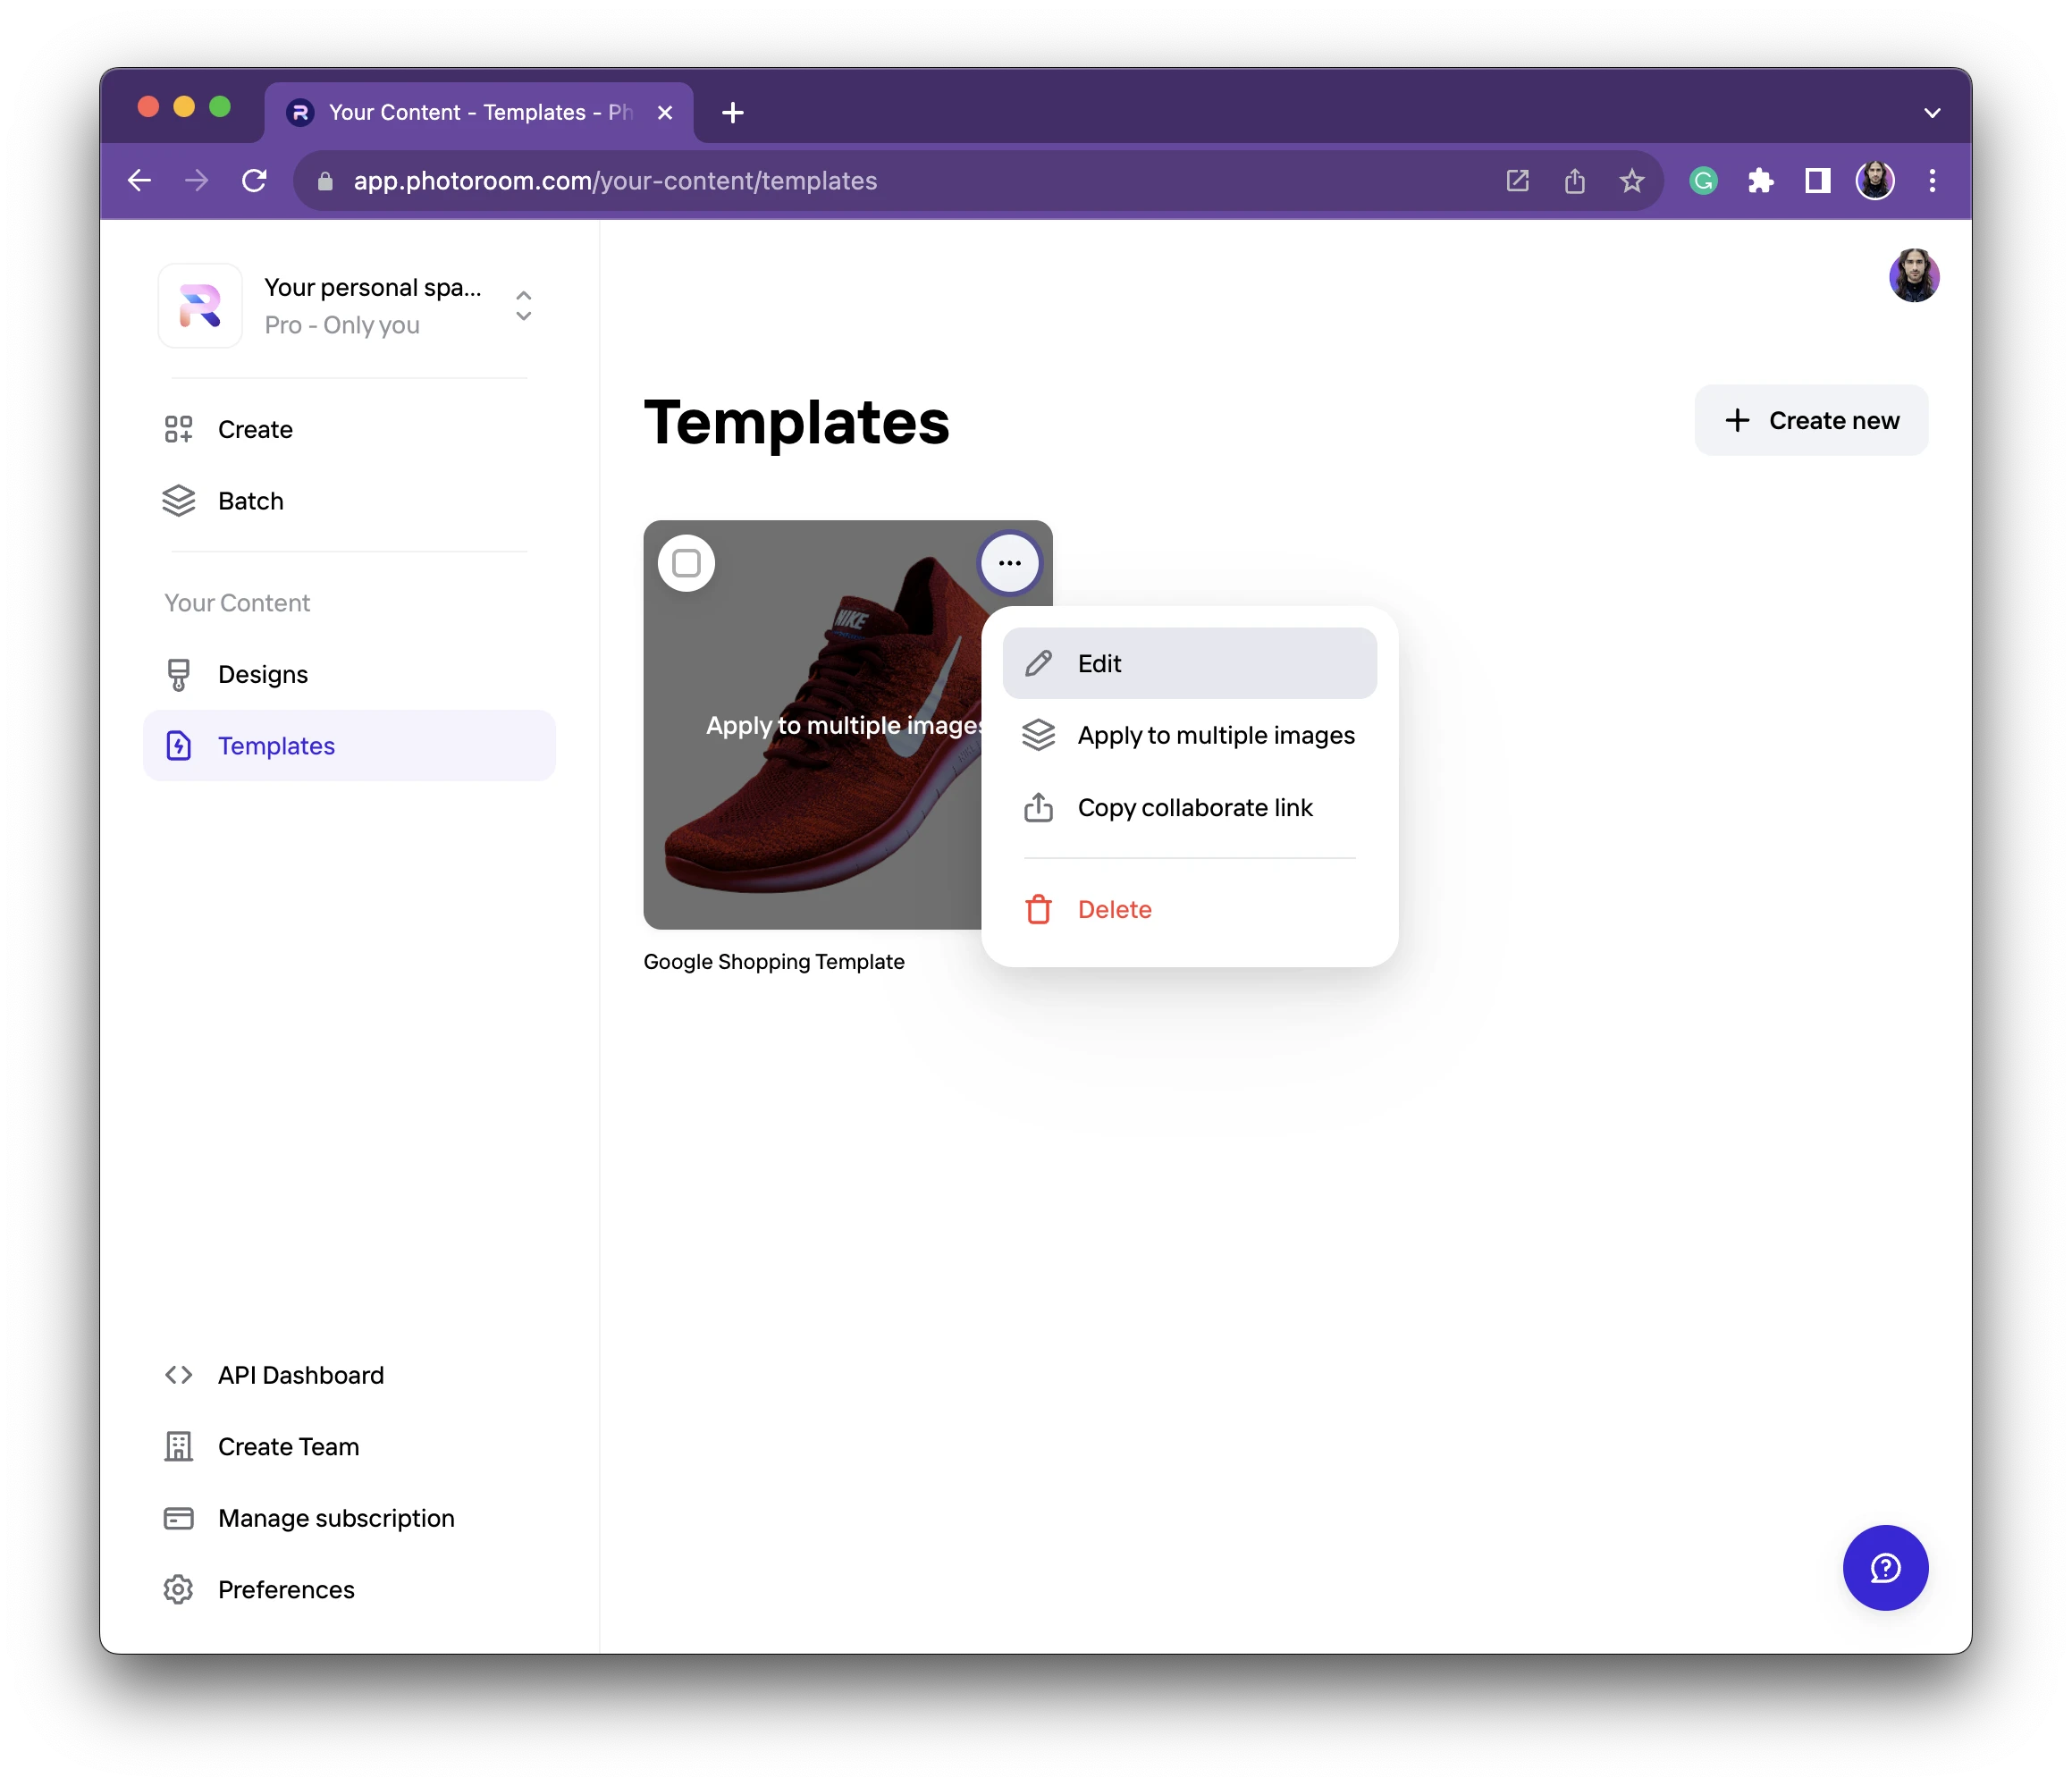
Your template will be created and you will be automatically redirected to the list of your templates.
From there, you’ll need to edit the template you’ve just created:
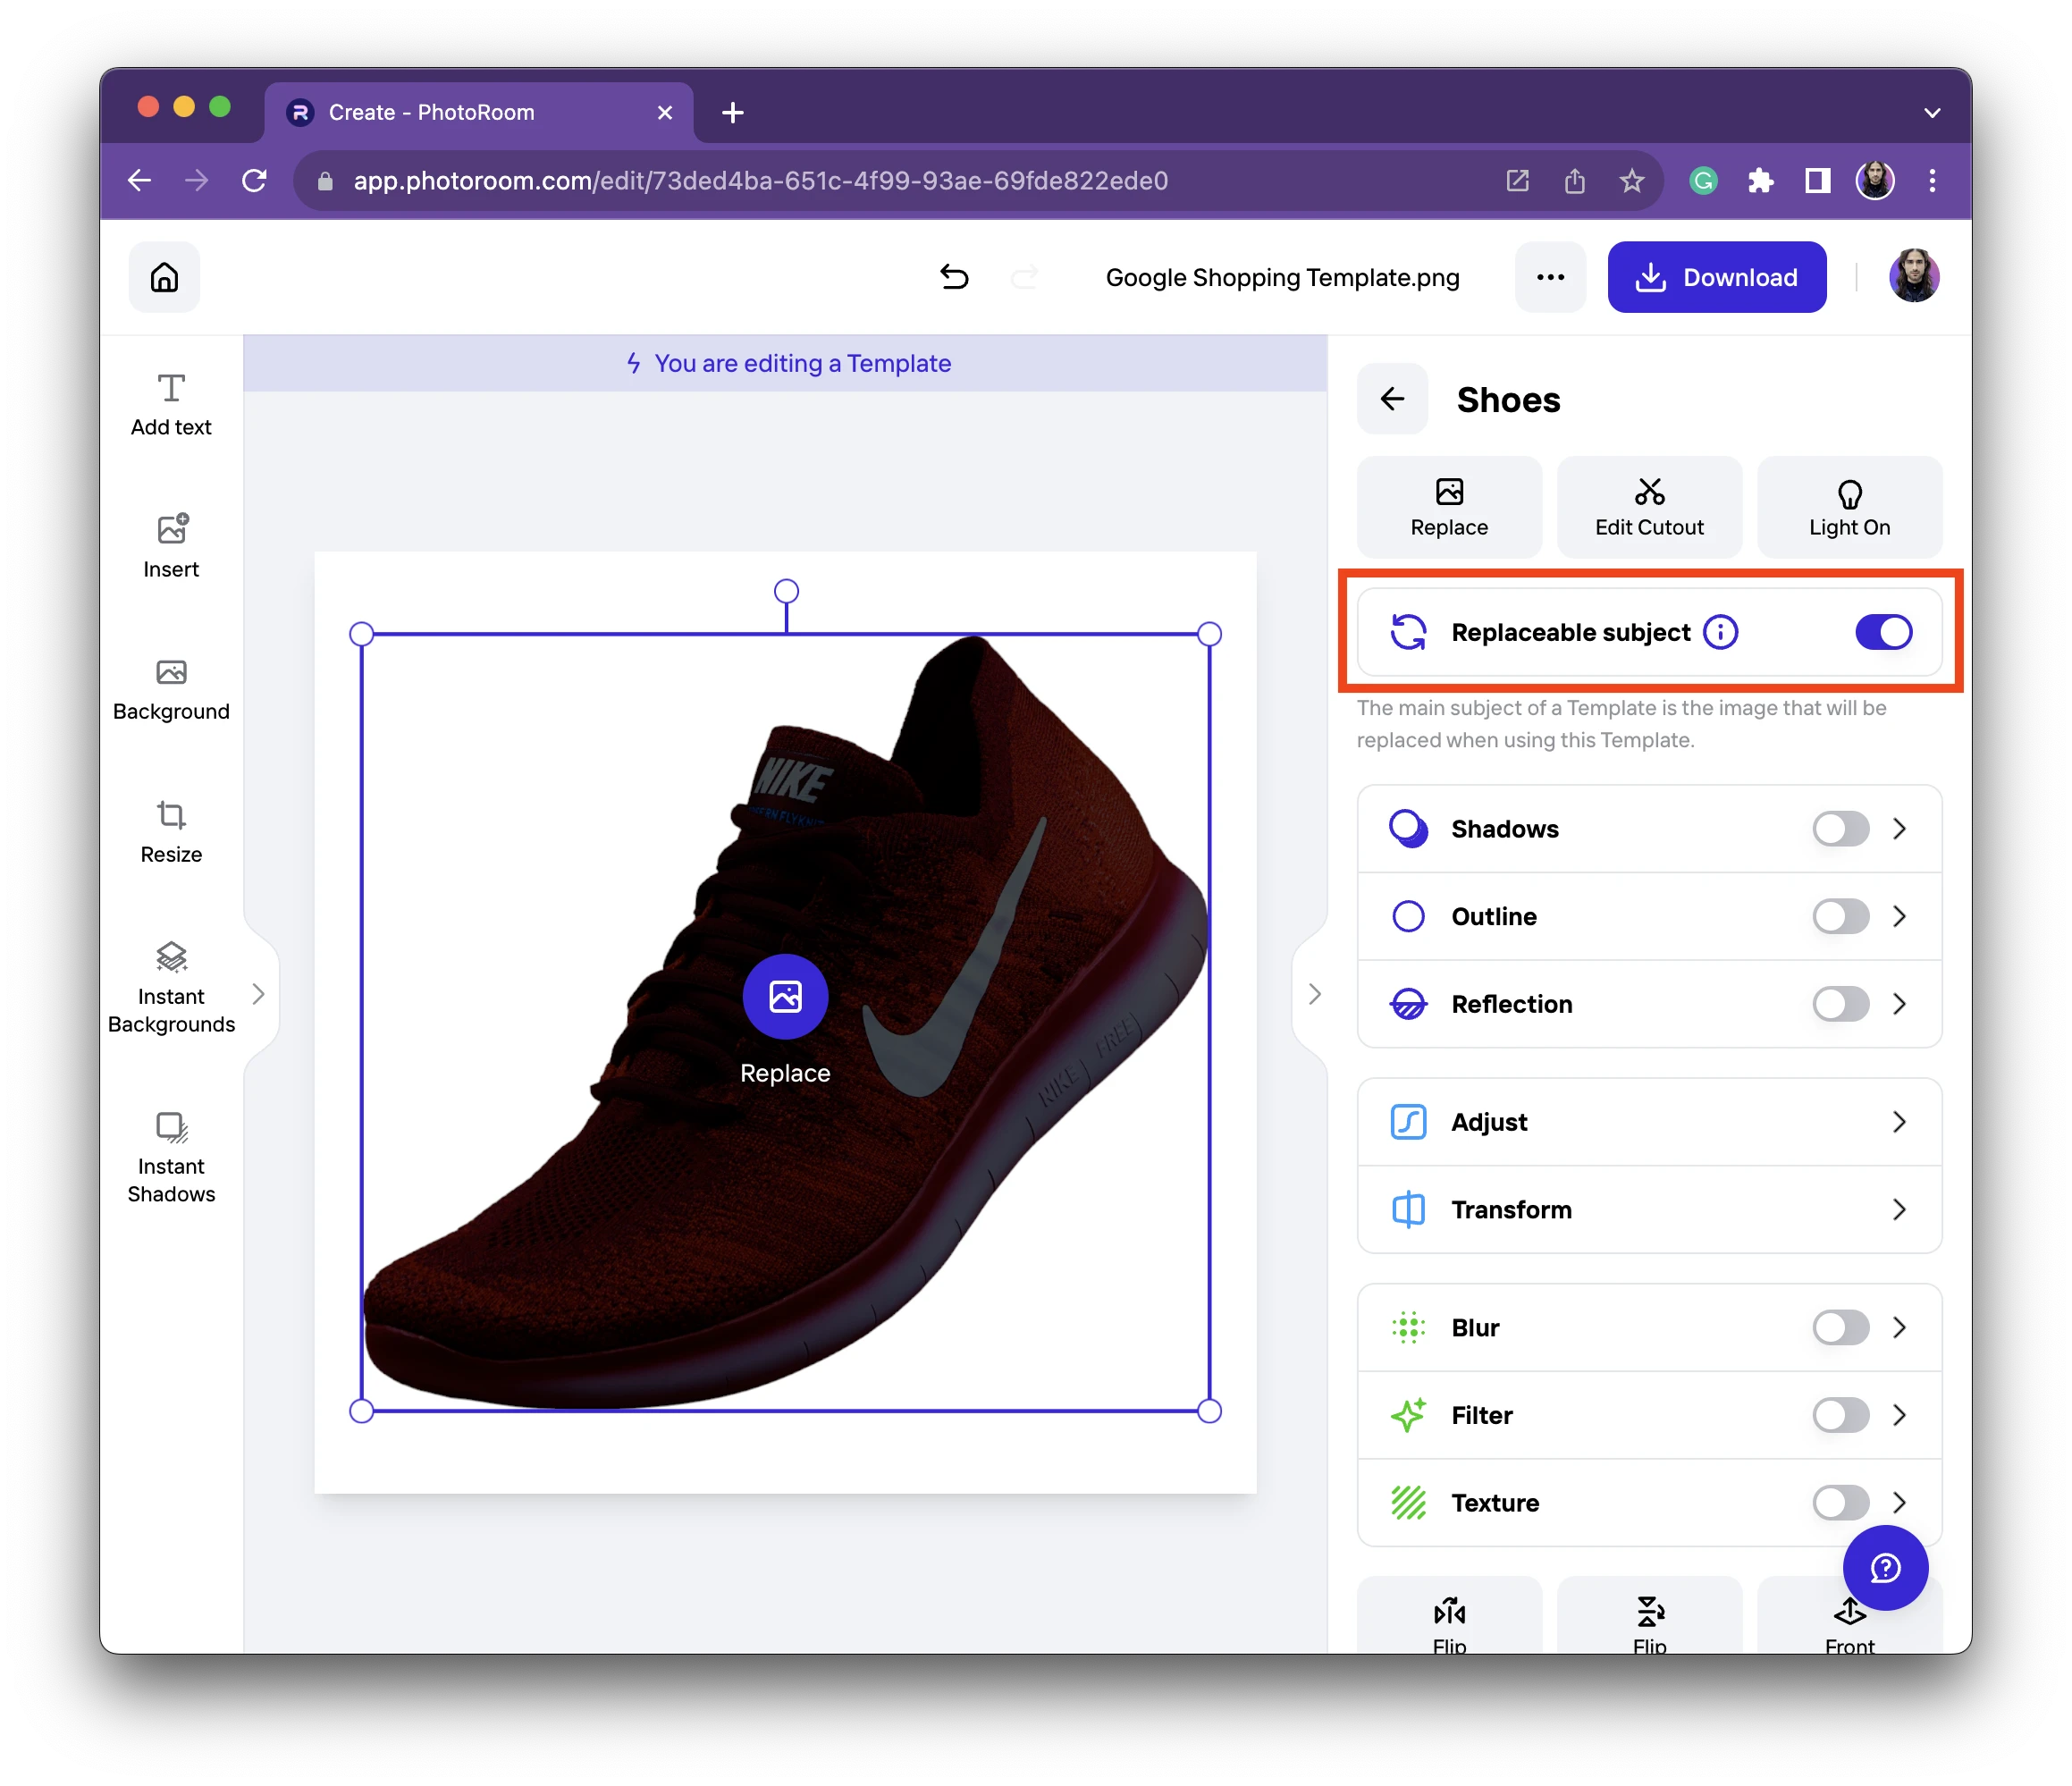
Select your product and enable the option “Replaceable subject”:
Finally, go back to the list of your templates and click on “Copy collaborate link”:
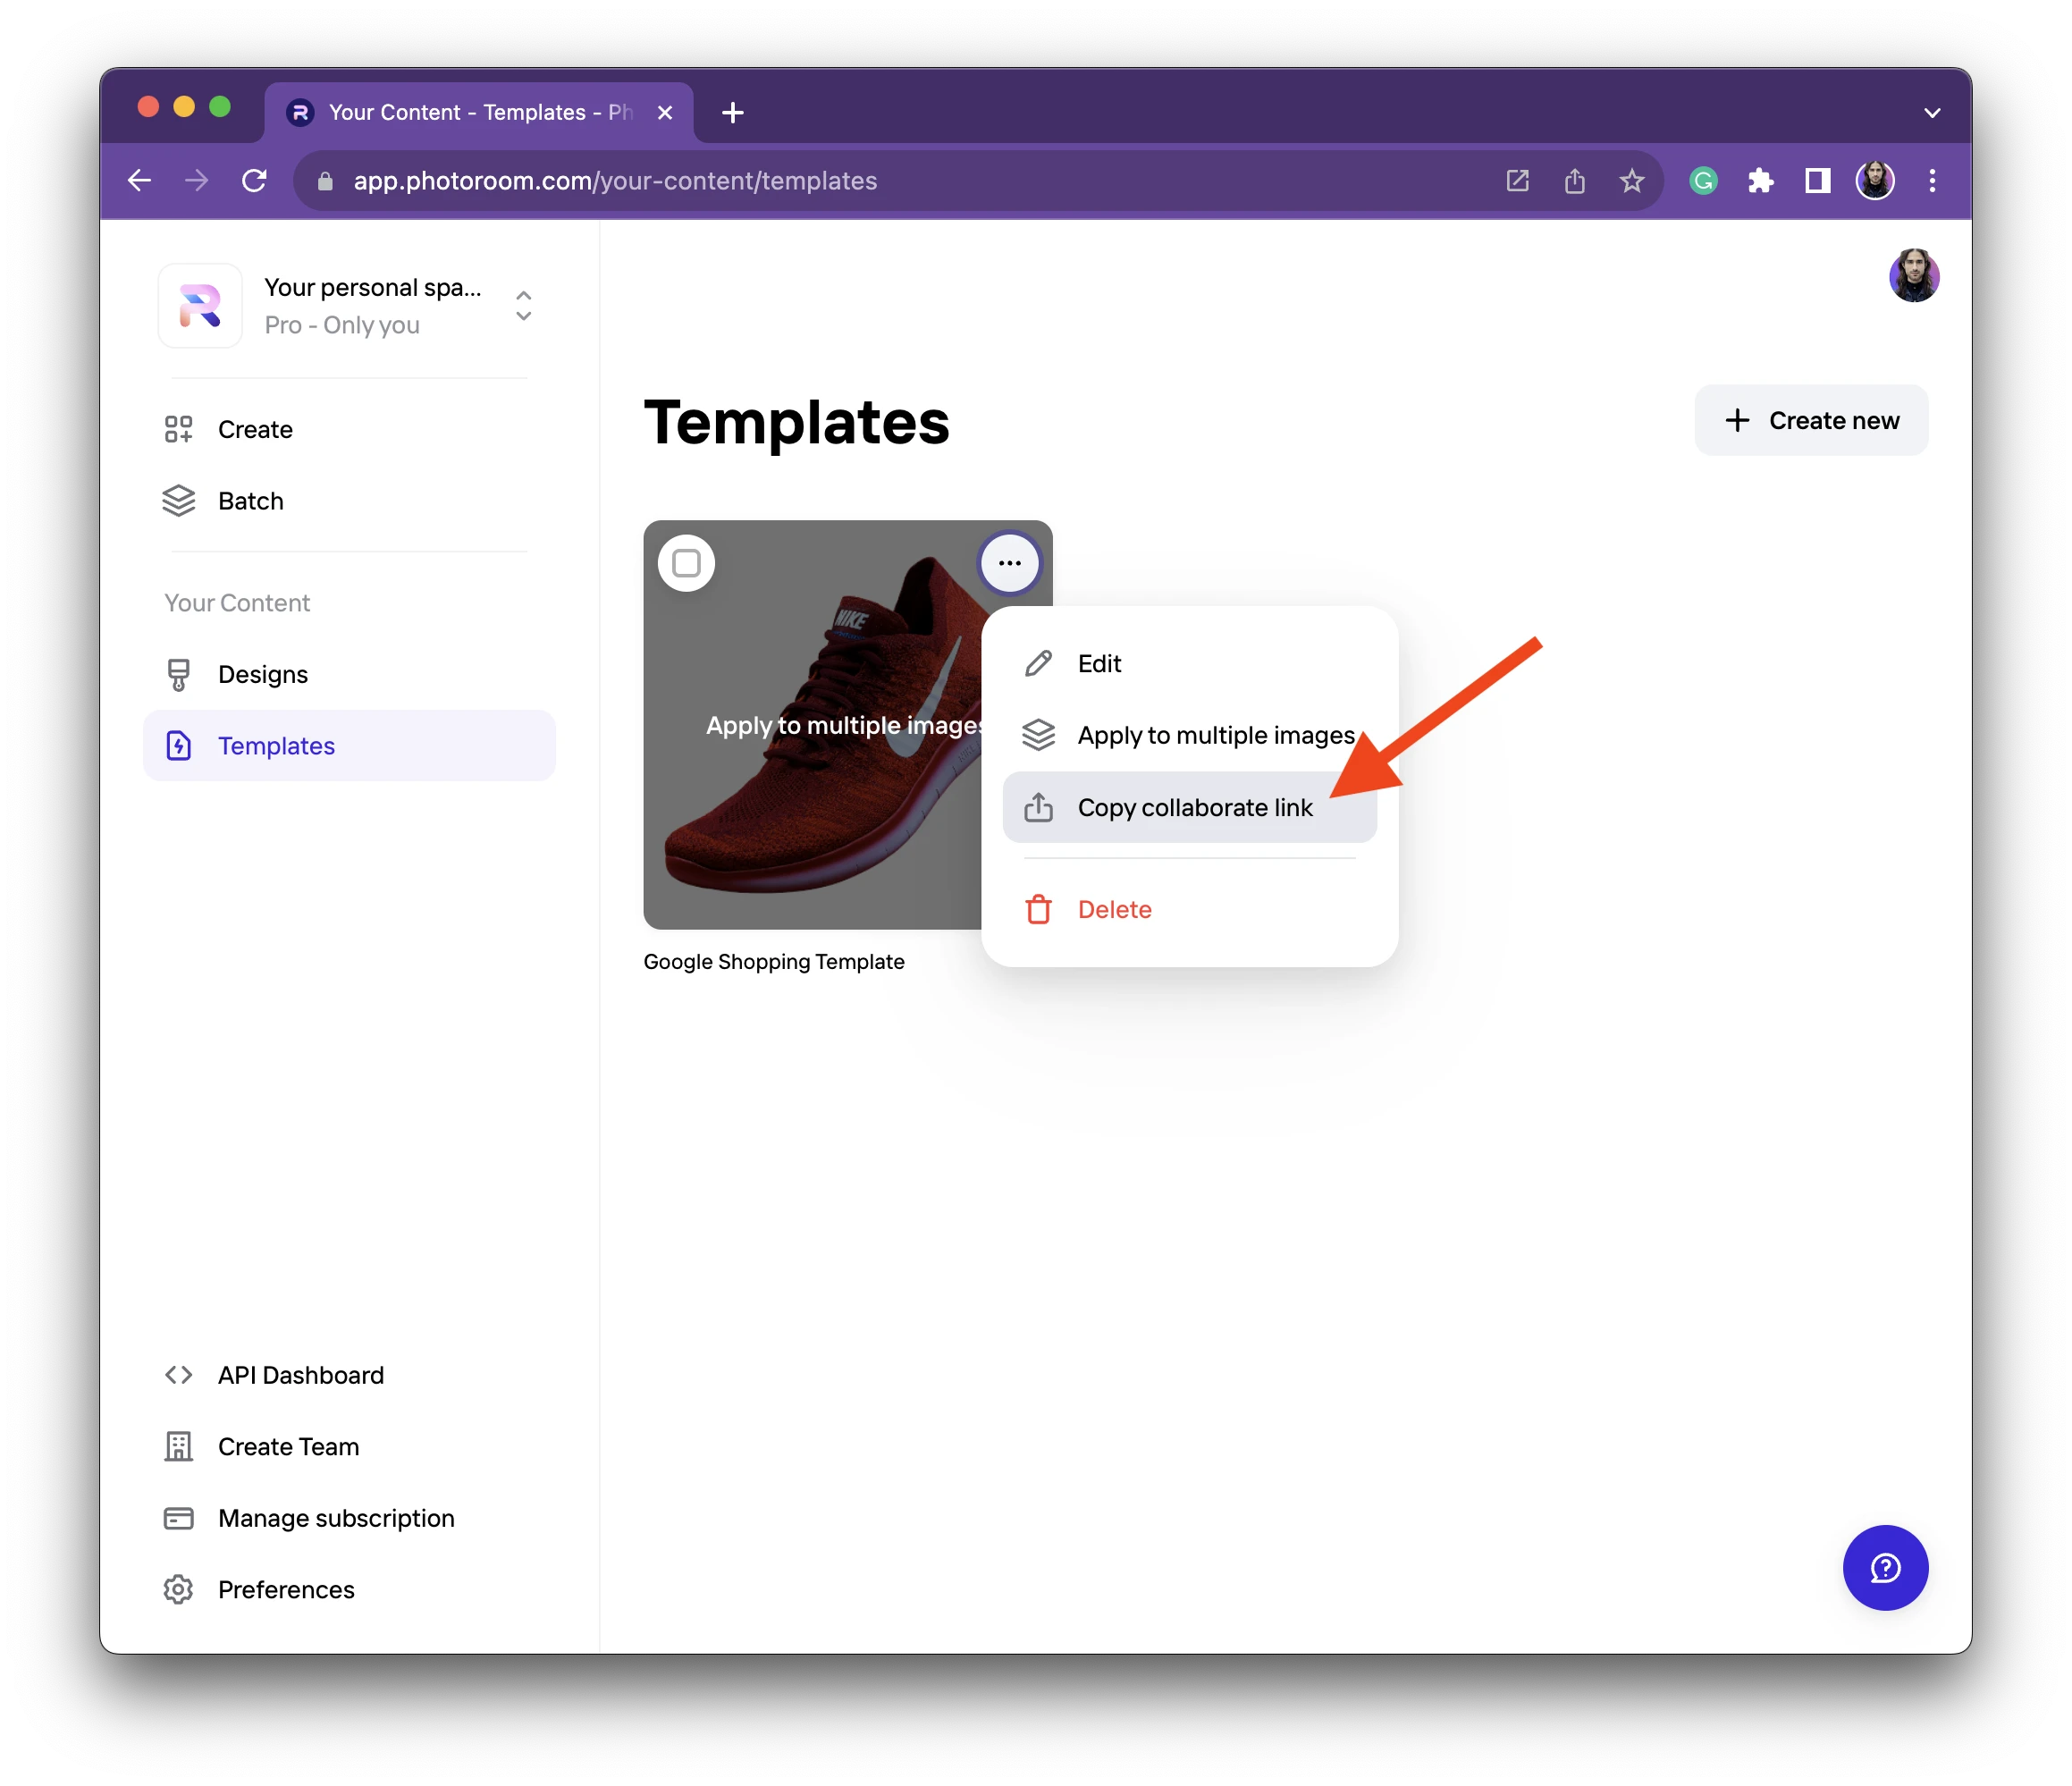
This will copy a link to the template to your pasteboard, and this link will contain the templateId needed to make the API call:

Step 3: Make your API call
Now that your template has been created, you’re ready to call our API to process your images.
More specifically, you’ll need to call our Edit Image API.
Here's how a call to this API looks like:

As you can see, if your image is already hosted online, the API call is pretty simple to set up. You can find all the technical details about the endpoint in our API reference.
And if your images are only stored locally don’t worry: the endpoint also supports uploading the image file.
Conclusion
That’s it, you’re now ready to process your product images and make them compliant with the guidelines of Google Shopping!
If you have any issues calling our API, feel free to join our Slack Community, where you'll be able to reach our engineers.